To set up an Angular project with SonarQube and SonarLint in a Bitbucket pipeline on macOS
1. Install SonarQube and SonarLint
SonarQube:
- Download and Install SonarQube:
- Download SonarQube from SonarQube Downloads.
- Extract the files and run the following commands in your terminal:
- SonarQube should be accessible at
http://localhost:9000. SonarLint (for IDE integration):
- For VS Code:
- Install the SonarLint extension from the VS Code marketplace.
- For JetBrains IDE (like IntelliJ, WebStorm):
- Install SonarLint from the JetBrains plugin marketplace.
2. Set Up SonarQube on Your Project
Install the SonarScanner: The SonarScanner is used to analyze the code and send the results to SonarQube.
- Install SonarScanner globally using Homebrew:
- Install SonarScanner globally using Homebrew:
Configure
sonar-project.properties: In your Angular project’s root directory, create asonar-project.propertiesfile with the following content:Replace
your_sonarqube_tokenwith the SonarQube token you generate in the SonarQube dashboard (under My Account -> Security -> Generate Tokens).- Execute sonar through terminal
Set Up Bitbucket Pipeline
Create
bitbucket-pipelines.ymlFile: In the root directory of your Angular project, create abitbucket-pipelines.ymlfile to define the pipeline configuration. Below is an example pipeline configuration:- The
sonar-scannercommand will analyze the code and send the results to SonarQube.
- The
Set Up Bitbucket Secrets:
- Add the SonarQube token in Bitbucket under Repository settings -> Pipeline -> Environment Variables. Add
SONAR_TOKENas the variable name and your SonarQube token as the value.
- Add the SonarQube token in Bitbucket under Repository settings -> Pipeline -> Environment Variables. Add
Configure Angular
karma.conf.js: Ensure that thekarma.conf.jsfile in your Angular project is set up to produce a code coverage report:
4. Run the Pipeline
Push Your Changes: After setting everything up, push your changes to Bitbucket:
Check the Pipeline: Go to the Pipelines section in your Bitbucket repository to see the results of the build. SonarQube analysis should appear after the build and tests are complete.
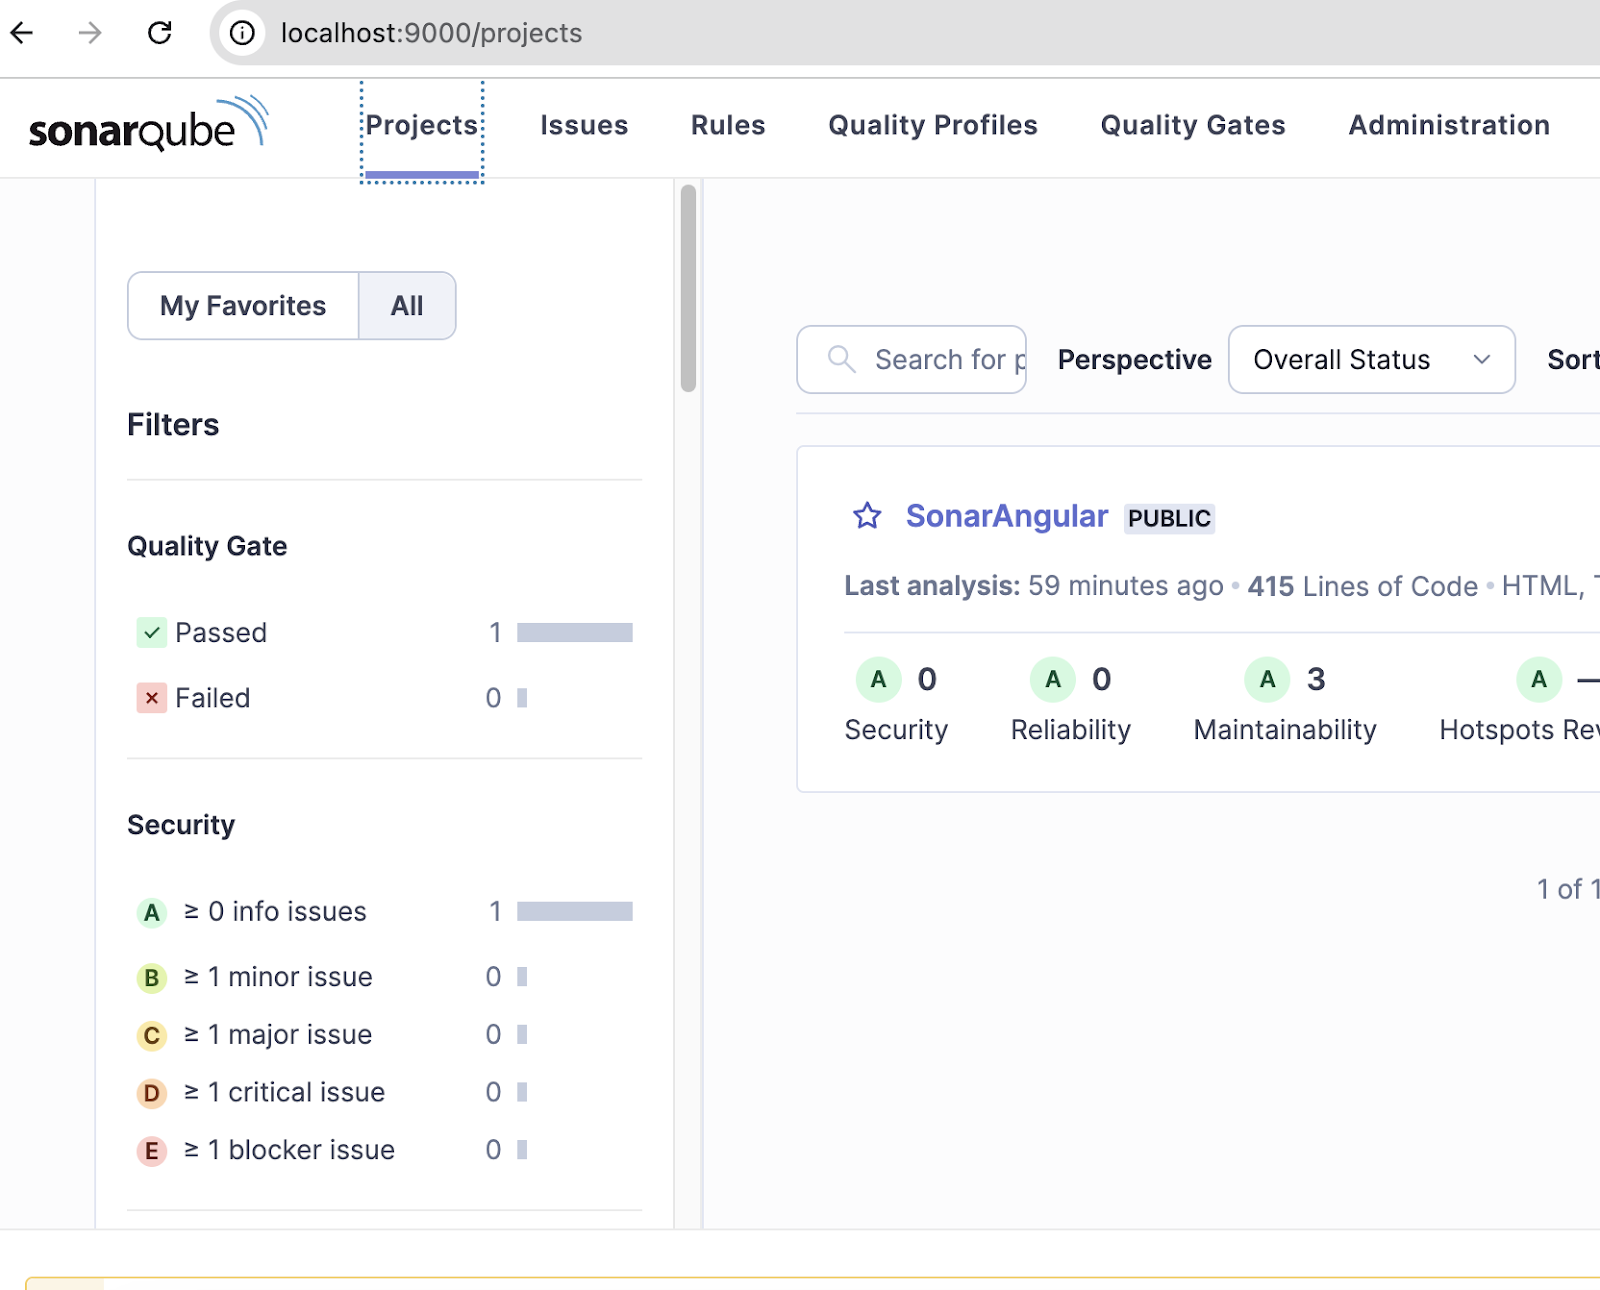
5. View the Results in SonarQube
- Go to
http://localhost:9000in your browser (or the SonarQube instance you’ve configured). - You should be able to see your Angular project and its analysis, including metrics like code coverage, code smells, and potential bugs.
Additional Tips:
- You can install SonarLint in your local IDE to receive immediate feedback on your code as you write it.
- Ensure that your Bitbucket pipeline YAML configuration is correctly formatted and your SonarQube instance is running.


Comments
Post a Comment